


CSS stands for Cascading Style Sheet, it is used to give designs to documents written in HTML.
There are three ways we can write CSS in our HTML documents.
Inline CSS
Internal CSS
External CSS
Inline CSS
Inline CSS is written with the help of the style attribute for a single element and within the element.
Example:
<p style="background-color: grey;">Hello World</p>
Internal CSS
Internal CSS is written within the head tag with the help of a style tag.
Example:
<!DOCTYPE html>
<html lang="en">
<head>
  <title>Selectors</title>
  <style>
    p {
      background-color: grey;
    }
  </style>
</head>
<body>
  <p>Hello World</p>
</body>
</html>
External CSS
External CSS is written on a different page but the CSS page going to be included in the HTML document within the head tag.
Example:
<!DOCTYPE html>
<html lang="en">
<head>
  <meta charset="UTF-8">
  <title>Selectors</title>
  <link rel="stylesheet" href="style.css">
</head>
<body>
  <p>Hello World</p>
</body>
</html>
It is advisable and a good practice to use External CSS.
CSS Selectors
There are many ways to select an HTML element with the help of CSS but here we are going to learn about some important selectors.
Universal Selector
The universal selector is going to select all the elements.
For applying a universal selector we use the asterisk (*) symbol.
HTML
<body>
  <p>Universal Selector</p>
  <h1>HellO World</h1>
</body>
Applying universal selector before and after
* {
  background-color: orange;
  color: white;
}


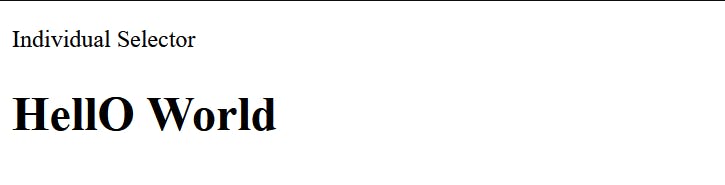
Individual Selector
The Individual selector is going to select individual elements.
For applying an Individual selector we use an element name.
HTML
<body>
  <p>Individual Selector</p>
  <h1>HellO World</h1>
</body>
Applying Individual selectors before and after
p {
  background-color: rgb(72, 255, 0);
  color: rgb(0, 0, 0);
}

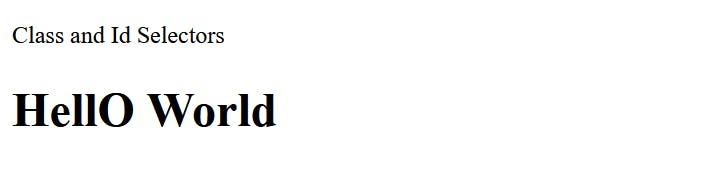
Class and Id Selectors
Class Selector
There can be many classes with the same name in an HTML document and we can target all the elements which have the same class names.
For applying a Class selector we use the dot (.) symbol.
HTML
<body>
  <p class="para">Class and Id Selectors</p>
  <h1 class="para">HellO World</h1>
</body>
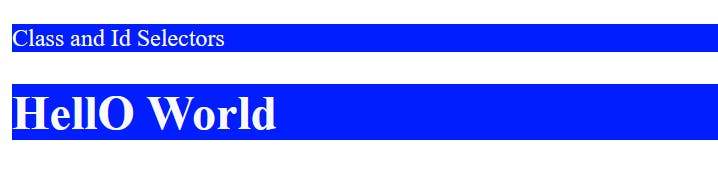
Applying Class selector before and after
.para {
  background-color: rgb(0, 30, 255);
  color: rgb(250, 250, 250);
}
Id Selector
There can be only one Id with the same name in an HTML document and we can target the elements individually.
For applying a Class selector we use the hash (#) symbol.
HTML
<body>
  <p id="para">Class and Id Selectors</p>
  <h1>HellO World</h1>
</body>
Applying the Id selector before and after
#para {
  background-color: rgb(0, 30, 255);
  color: rgb(250, 250, 250);
}


Chained or 'and' Selector
It only targets an element only when all given conditions are satisfied.
HTML
<body>
  <p class="para1 para2">Class and Id Selectors</p>
  <h1 class="para1">HellO World</h1>
</body>
Here I want to target only those elements which have classes of para1 and para2.
CSS
.para1.para2 {
  background-color: rgb(0, 30, 255);
  color: rgb(250, 250, 250);
}
Applying the Chained or 'and' selector before and after


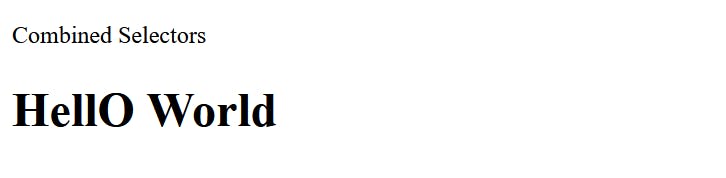
Combined Selector
A combined Selector is used to target multiple elements.
HTML
<body>
  <p>Combined Selectors</p>
  <h1>HellO World</h1>
</body>
Here I want to target <p> and <h1> elements.
CSS
p, h1 {
  background-color: rgb(0, 30, 255);
  color: rgb(250, 250, 250);
}
Applying the Combined selector before and after

Inside an Element Selector
Inside an element selector used for target child elements, it does not matter if an element is a direct child or not.
HTML
<body>
  <div>
    <li>
      <p>Inside an Element Selectors</p>
    </li>
  </div>
  <h1>HellO World</h1>
</body>
Here I want to target <p> tag which is inside <li> tag and <li> tag is inside <div> tag.
CSS
div p {
  background-color: rgb(0, 30, 255);
  color: rgb(250, 250, 250);
}
Applying the Inside an element selector before and after


Direct Child Selector
It is used to target a Direct child, greater than (>) symbol used to describe the direct child.
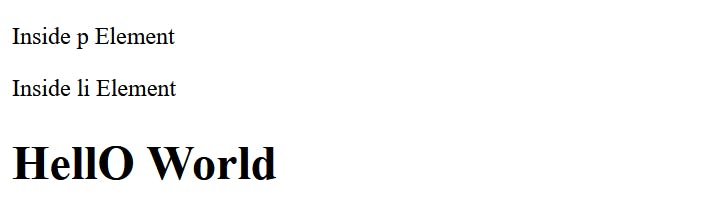
HTML
<body>
  <div>
    <p>Inside p Element</p>
    <li>
      <p>Inside li Element</p>
    </li>
  </div>
  <h1>HellO World</h1>
</body>
Here I want to target <p> tag which is under <div> tag.
CSS
div > p {
  background-color: rgb(0, 30, 255);
  color: rgb(250, 250, 250);
}
Applying the Direct Child selector before and after

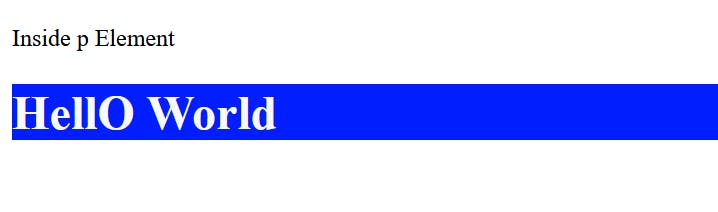
Sibling Selector
It is used to target the next element of any element, it is denoted by a ~ or + symbol.
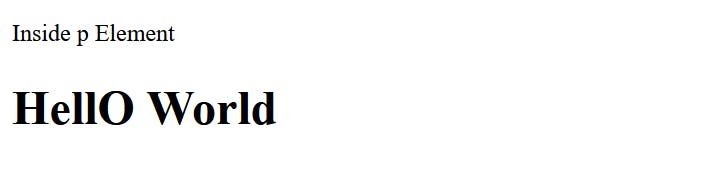
HTML
<body>
  <div>
    <p>Inside p Element</p>
  </div>
  <h1>HellO World</h1>
</body>
Here I want to target the next <h1> element which is next to the <div> element or sibling of <div> element.
div + h1 {
  background-color: rgb(0, 30, 255);
  color: rgb(250, 250, 250);
}
Applying the Sibling selector before and after
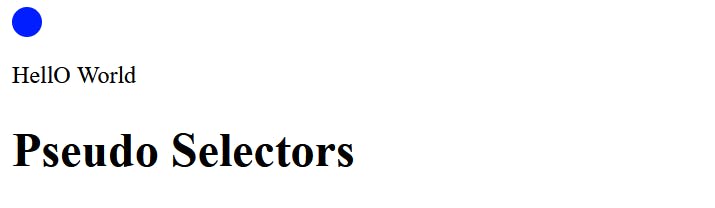
Pseudo Selectors
A Pseudo selector is a keyword that can be added to the selector that specifies the special state of an element.
for example, a change of button color when hovering.
HTML
<body>
  <div>
    <p>HellO World</p>
  </div>
  <h1>Pseudo Selectors</h1>
</body>

::before
if you want to apply styling before the targetted element then ::before is used
After applying ::before <div> element
CSS
div::before {
  content: "";
  display: block;
  background-color: rgb(0, 30, 255);
  height: 20px;
  width: 20px;
  border-radius: 10px;
}
::after
if you want to apply styling after the targetted element then ::after is used
After applying ::after <div> element
CSS
div::after {
  content: "";
  display: block;
  background-color: rgb(0, 30, 255);
  height: 20px;
  width: 20px;
  border-radius: 10px;
}
